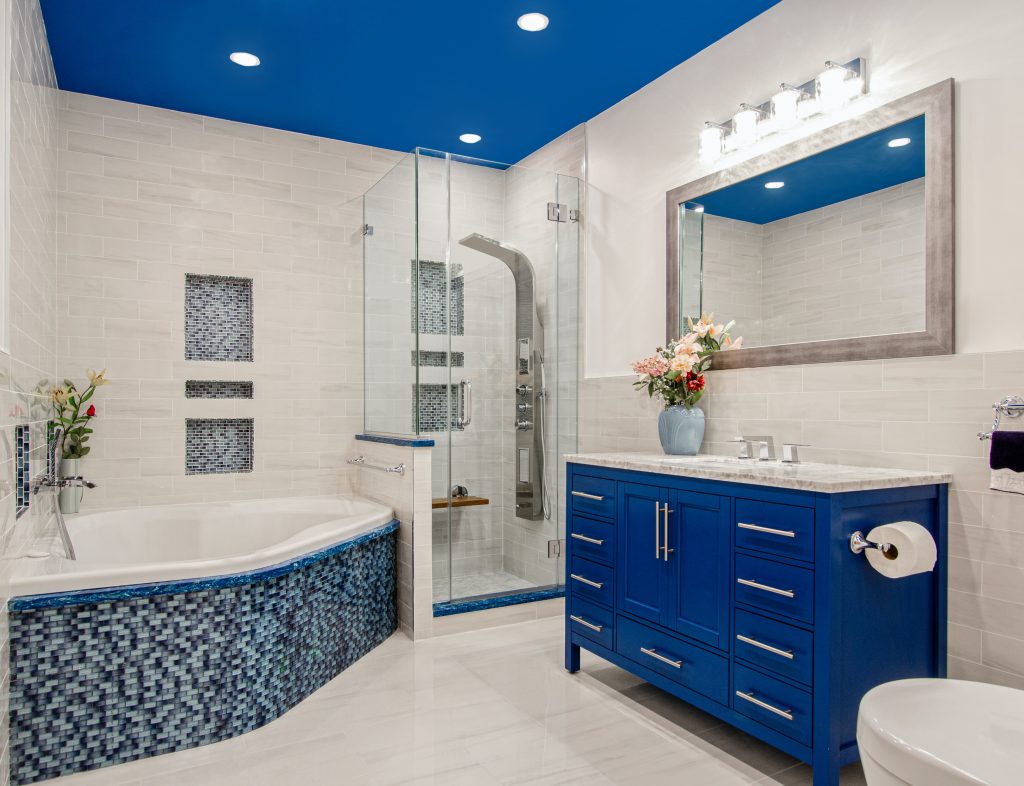
Installing tiles in a bathroom can be done yourself if you think you are capable. But if you need the job done quickly with a professional look, get in touch with us today

Installing tiles in a bathroom Yourself
Tiling a bathroom can be a great way to master one’s tiling skills because the project is usually small, thus allowing the user to perfect their abilities. However, bathroom floors need a lot of attention. Any mistakes you make will be seen every day. Moisture is also a major consideration. Plumbing leaks will have an impact, and the bathroom floor is the most exposed room in the house.
Using sealing membranes between the subfloor and the tile before laying the tile can help prevent cracking and add waterproofing. These membranes also help break the bond between the subfloor and the tile, preventing tiles from separating from one another. Plastic tile spacers prevent mistakes when installing tiles. Notched trowels deliver thinset to the right places. Premixed thinset eliminates the need for complicated preparation. With these tools, most do it yourselfers should easily tile a bathroom floor.
Preparation of the Bathroom / Installing tiles in a bathroom
Remove as many items as you can from the room. Take out the toilet. Remove the baseboards. If you can, take out the doors; if not, you’ll be able to undercut them later
Sub-floor preparation / Installing tiles in a bathroom
The sub-floor of your bathroom should be flat, level, and free of damage. Water damage around your shower/tub, toilet, and sink can also cause remodeling issues. Replacement of damaged sub-floor with like materials; 3/4-inch tongue-and-groove plywood is best suited for replacing the entire sub-floor. If the sub-floor only needs to be leveled, then pour leveling compound over low spots, then allow it to fully cure.
The uncoupling tile membrane
Must match the floor size precisely. Transfer the measurements from the bathroom floor to the membrane with a tape measure, making measurement marks with an indelible marker. The membrane is cut and pressed firmly into the thin-set, then left to bond for 24 hours. Surface preparation includes skimming out unmodified thin-set grout, then pressing the membrane into its still-wet adhesive.
Create the Tile Layout
With the help of the chalk snap line or laser level’s vertical line feature, draw a line across the center of the room. You can then use the tape measure to determine the exact center point.
Tile Layout Dry-fit Your Tile
Install your tiles, working from the center line outward, testing different arrangements. If you are able, use full-size, uncut tiles for the most visible sections.
Door Jambs: If you are going to leave the jambs in place, place a tile and a layer of cardboard underneath it. Mark the jambs with a pencil. Remove the tile and cardboard, then cut the jambs with the multi-tool.
Install the Tile Membrane
Fill the tile membrane cavities with thin-set mortar. If a dry mix, mix the thin-set mortar in a bucket and use the straight, un-notched side of a trowel to apply thin-set mortar.
Thin-set Mortar for Installing
Along the tiles spread thin-set mortar using a trowel with a notched edge. It typically takes about 2 feet by 2 feet of floor to complete a tile installation. Do not forget to butter the back of each tile with the thin-set. Press the tile firmly into the floor, and insert tile spacers as you go.
Tile Cutting / Installing tiles in a bathroom
As you install tile, you will need to trim it to the proper size. Edge tiles can be cut with a rail tile cutter or a wet tile saw. Field tile cutouts can be done with a tile nipper.
Install Grout / Installing tiles in a bathroom
After the tile is fully set (about 24 to 48 hours), mix the grout and apply firmly diagonally across the tiles with a rubber grout float.
Removing the Grout Haze: After the grout has cured, mix grout haze remover with cool water in a bucket and gently wipe the tile surface with the tile sponge.
Grout Sealer
Once the tiles have dried, seal the grout. This will keep water from percolating between the seams between the tiles and beneath the tiles.
If you you feel overwhelmed by the idea of doing a bathroom renovation yourself you can contact Tamworth Bath and Shower for a free quote.
